Sunday, May 22, 2011

Chicago Fabric

Yes, I bought fabric... a total of 37 yards, no wait, 41 yards because I ended up buying some on the Sunday when we went to Fishmans to meet Lt. Gov Sheila Simon.....
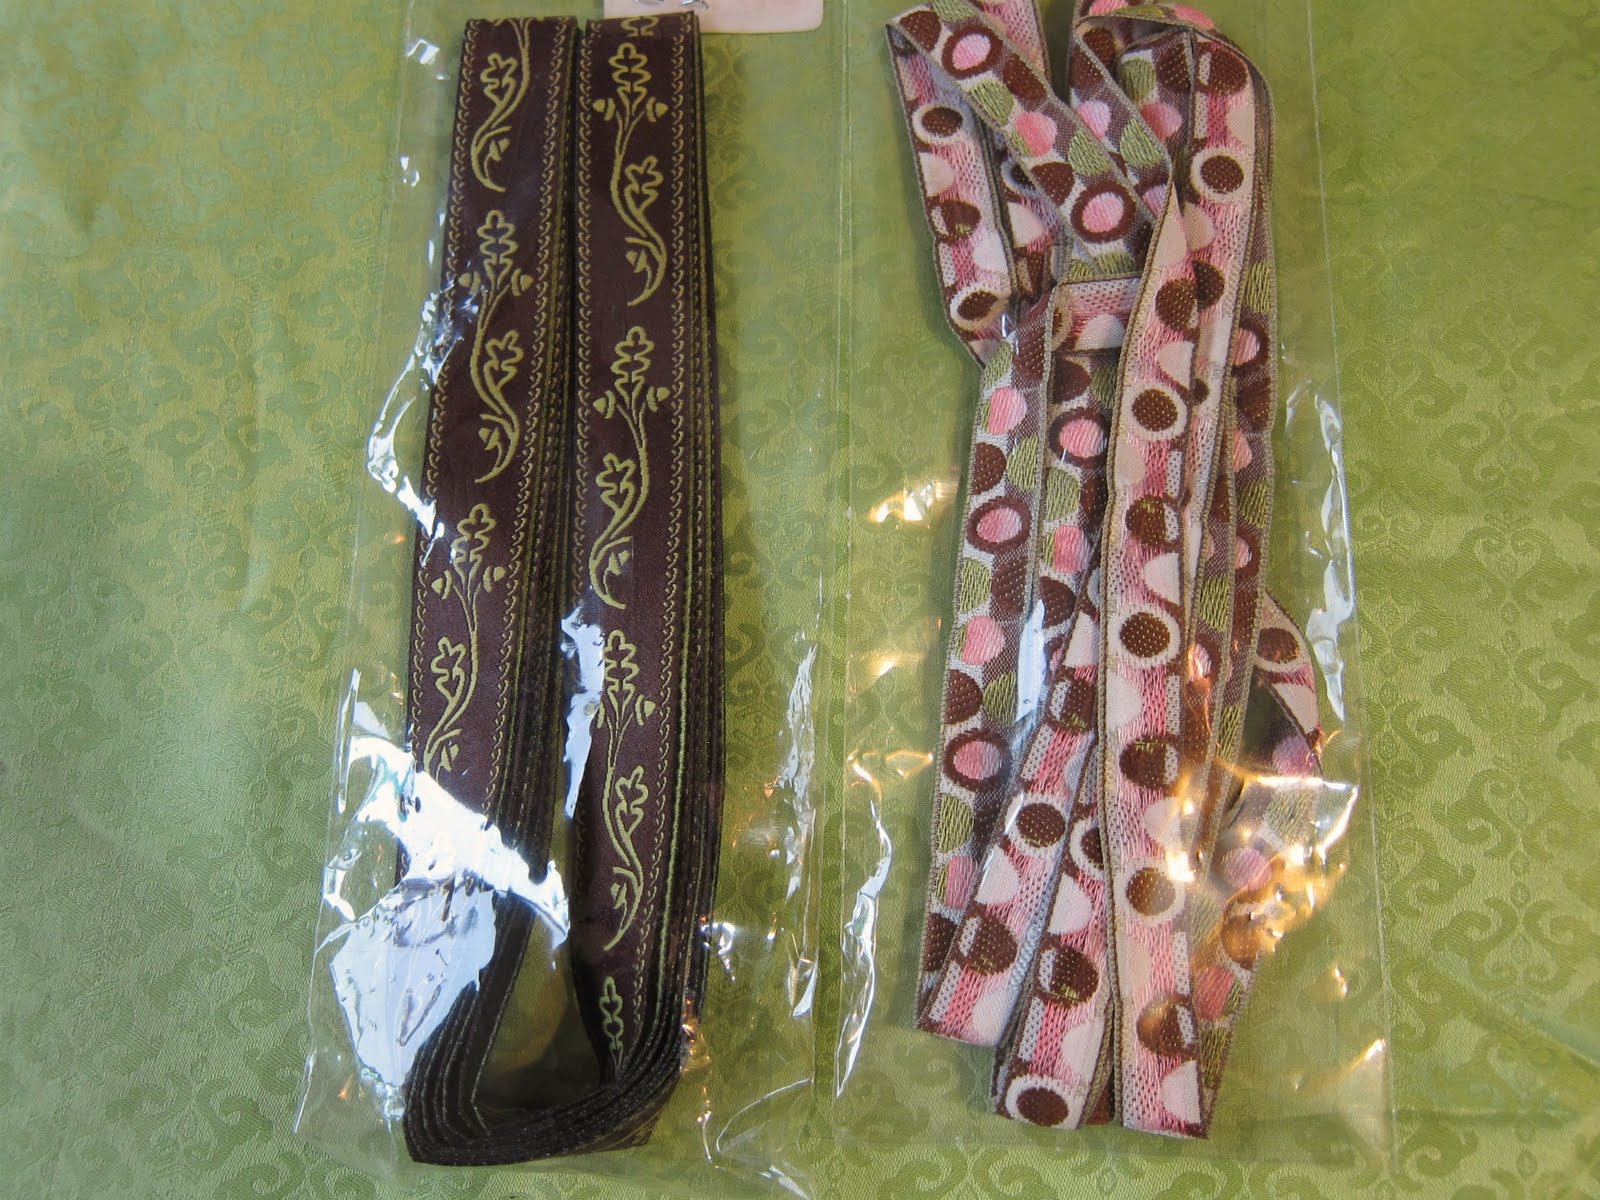
I also bought some notions at Soutache Ribbons.  Soutache Ribbons They had beautiful ribbons, floral pins, zip pulls, and hardware.  Here's what I lugged home from Chicago (suitcase was 32 pounds going; 49.5 pounds returning):
and ribbons

The store had beautifully created floral pins and colored ribbon everywhere.


And my fabric purchases from Vogue (Evanston and Roosevelt locations); Chicago Fabric Yarn and Buttons, New Rainbow Fabrics, and Fishman Fabrics


And I'll end this post with a current picture of my new great niece, Tessa Lyn, who I got to finally meet yesterday!

Thursday, May 19, 2011

McCalls 5974

I've made McCalls wrap dress a while back and love it. I think what attracted me to the pattern is the red fabric.

so, when I saw the exact same fabric at Fabric Mart.... I had to buy some to make this dress again. 


at the time of this post, they have 32 yards left   Fabric Mart Website.   I just cut it out and will sew it up this weekend!   This weekend I will also take photos of my recent Chicago fabric and notion purchases..... stay tuned.

Wednesday, May 18, 2011

Chicago... my kind of town - Part 1

I went to Chicago aka the City with the Big Shoulders, The Windy City, Second City, and Chi Town to name a few.
I was born near Chicago, in Bellwood to be exact.  We moved to California when I was 6 years old.  I missed not growing up with a hoard of relatives and always felt like I missed something.  But, lucky for me I got 3 sisters, and 2 brothers.

The first day we got up early and headed out to Millenium Park located in the loop area of chicago.  It's called the loop area because this is where the el loops around. This area used to be rail yards and a smaller park.  The park has a pavillion, gardens, fountains, and the "bean" which is actually called "Cloud Gate".

I love the way it reflects the city.   The Park also has the Crown Fountain which is an interactive video sculpture. The fountain is 50 feet tall and displays faces of residents of Chicago.


The streets were full of blooming tulips and apple trees.  It was beautiful!


My husband joined me the first 5 days and I was able to show him the city.... we ate delicious food, walked, visited with my cousins, went on several tours,  and had a great time.  

Saturday, May 7, 2011

Sloppy Tee to Fitted Tee

I'm considering showing the neighborhood group teens how to take a big ol' sloppy tee and turn it into a fitted tee.  I think they can learn a lot from this and it will show them how to create something fun with something that they already have.  I hate that if you want a fitted v-neck tee, it is generally 2x as much as a man's tee.  So, I now buy the biggest size they have, preferrably a 2x and cut it down.  I use a Jalie basic tee pattern.
I start with the tee

I cut the tee up the sides, and out through the sleeve hems.  Then I cut off the sleeves.  I find it doesn't really matter where you cut the sleeves off, inside or outside the seam.  

 so I now have four pieces: front, back, and sleeves.


  the sleeves are put wrong sides together, and the front and back are folded down the center.  The pattern is placed on these three pieces, keeping in mind the placement of any graphics.  Some times if the neckline is going to cut off too much or an important part of the graphic, I put it on the back.
I then cut it out, following the pattern/  I am using the existing hems on the body of the tee and the sleeves with this tee shirt, so I'm not cutting the bottom edge.  If the tee shirt is extra long, you can cut the bottom edge and re-hem and use the excess for neck binding.


next, I sew the shoulder seams which you can either serge or use a very narrow zig zag

then I serge the neckedge to give it some stability, and fold it over 1/4"
 I then sew the neckedge down 1/4".  You can also bind the neckline if you had extra fabric after cutting.  I didn't have any extra with this tee shirt. Below is the finished new neckline.
Next is to add the sleeves.  I just pin the center of the sleeve cap to the shoulder seam and serge it on adjusting as I go.


Now the tee is all sewn, except for side seams.  It looks better already.
Last step (since my hems are already done) is to sew up the side seams.  When using a serger, after I sew up the sides, I add a drop of fray check at the beginning and end of the seam since the hem is already done and is what will usually anchor the seam.


I now have a new tee, for the price of a cheap tee and less than an hour of my time.

Got Dodgers!

Tuesday, April 26, 2011

Weekender Sunshine Top

This is one of my most favorite patterns: the neckline, the gathers, the drape - makes a beautiful top. I always feel that this wide neckband needs embellishment.  In the past, I've painted it or used a different fabric.  This version I used hot fix (plastic) studs/beads.  These were pocket designs I got in downtown LA in a package of about 40 for $4 for the entire package. 

These "studs" are on tacky clear paper, which I cut out to the shapes I needed, placed on the neckband, covered with a press cloth, and put a hot iron on top to melt the glue.  The heat of the iron melts the glue on the bottom side of the stud and they adhere to the garment.


I did the back band first; and noticed that the weight of the studs and the constant ironing stretched the neckband a bit.  But I continued on to the front, and then washed and dryed the top and the neckband shrunk back into place.


I purposely left some empty spots on the front because I thought I liked it better that way; but, looking at this photo, I'm thinking I should fill in the spots.  But think I'll wear it first and see. 

Monday, April 25, 2011

New Look 6621

A few weeks ago when I was in Arizona visiting my parents, my sister and I took my mom shopping.  She recently lost some weight and needed to update her wardrobe.  While we were shopping, I noticed several blouses that had knit in the back.  I love white shirts, but I love the comfort of tees... so I thought, hey, why not a blouse with a knit back! 

So, I pulled one of my favorite blouses... New Look 6621
then dug through my stash for some white fabric and knit.  I found some dotted swiss leftover from a blouse a few years back, and some white knit that I recently purchases from FIDM.  I used the knit for the back.  I doubled, folding it on the cross-grain and using the fold as the hem.
pinning it on the CB seam so it made a sort of hinge so after I cut out the first side, I could flip the pattern over and cut out the second side.
I pinned in the dart.


I also used knit for the sleeve band


and used some vintage glass buttons

I also adjusted the front band so that it doesn't curve open at the bottom.  I just kept the curve along the blouse front, and straigthened out the center front
I think I liked the curved band better.  But the blouse turned out nice... comfortable too!

Thursday, April 21, 2011

Teen Neighborhood Group

Sunday was the ASG Teen Neighborhood Group sewing day and we did aprons.  The technique of the month was hems, so I thought doing an apron with lots of hems would be good.  It was, and the teens were pretty tired of doing hems by the end of the meeting. The sides of the apron and ties were 1/4" hems, and the bottom was a 1" hand sewn hem.  There's a total of about 15 girls, and usually about 6-10 show up at a time.  The group on Sunday was some of the hardcore sew'rs.  Ah, I love to see them create!
We hold our meetings in a local quilt shop that generously donates the space.  Next year, I'm thinking of starting a second group for the girls that have been with me for two years and doing some more advance techniques. 

My camera is fixed, but my battery and memory card is still at my sister's.  As soon as I get it back, I'll be back to posting photos of current projects.