Wednesday, March 30, 2011

Simplicity 3775

Here's another dress I've made a few times.  Simplicity 3775.  I love the fit of this dress particularly around the neckline.  The binding is curved, so it hugs perfectly and doesn't gap.  I also like the shirring at the waist.
I am noticing lots and lots of animal print fabrics lately.  Not sure how I feel about it, but thought I maybe "needed" some.  I got this fabric from the Fabrics and Notions Co-op; love the colors; and it's not too much "animal".

I think I'm done with the flag wall hanging.  Just need to add a label.  After thinking about what to put on the label, it's not really from me, but from her husband, and he hasn't gotten back to me with any wording.  So, I think I'm going to scan and print onto fabric a copy of the invitation to her retirement ceremony. I think that will add any other information that may be needed.   Pictures of the final wall hanging later this week.

Tuesday, March 29, 2011

Simplicity 2369

Thisis my third dress using this pattern and at least for now, my last.  I do love this pattern, and it was voted one of the top 10 for 2011 over at PatternReview Top 10 Article Here Not sure how this pattern escaped my sewing list until now, but it is a great pattern.
I changed up the neckline a bit by adding binding.  I generally don't like just folding over the neckline and hemming it.  I like using a binding because I can use the binding to tug in the neckline and make it hug a bit more.  I don't have as good of luck doing this with clear elastic.  Using a binding also raises the neckline a bit, which I find I need more often than not.

This dress requires a buckle at the side.  Buckles can be hard to find and so this weekend, when I was in downtown LA fabric shopping I saw a bin of buckles 2 for $1 so I picked up a few.
so now I got a nice little collection.... ok, I already had a collection, but now I have more.   It's always nice to have a stash of fabrics, patterns, notions, etc., when sewing

Monday, March 28, 2011

ASGLA - Teen Field Trip

Saturday, I took a group of the ASG-LA teens to the Fashion Institute (FIDM) and Michael Levine's in downtown LA. 
We started off the day visiting the Gallery at FIDM where they are now showing the Motion Picture Costumes.
The girls loved the exhibit and it was so fun listening to them discuss the costumes and gathering ideas for their future projects. This exhibit goes for another week or so, and if you are in the area, I highly recommend it.   After the exhibit we ate our sack lunches in the park on FIDM's campus.  They day was cold and gloomy, but everyone had a great time.   

After lunch, we headed over to Michael Levines which is about 6 blocks east on 9th Street from FIDM.   Most of these girls have never been in such a large fabric store.  I could see their eyes light up with ideas  looking at all the fabrics.

Everyone bought lots of fabrics and used their ASG discount.  I can't wait until our next neighborhood group meeting to see their creations!

Tuesday, March 22, 2011

The flag quilt is "sandwiched"..   bottom layer is backing, middle is batting, and then pieced top.  I used black batting because the navy fabric is not woven really really tight and I was afraid that white batting would "beard" through the blue.  I was concerned about having black batting under the blue sky, but that fabric is very tightly woven, so it doesn't show through.   To sandwich a quilt:  all pieces are ironed and clean.  The bottom layer is tightly taped to the floor (I used blue painters tape) wrong side up, the batting is placed on top of that, and then the pieced top is the top layer, right side up.  Everything is pinned together about 3" between each pin (the size of your fist).
Now it's ready to quilt.  Quilting is done from the inside out to avoid wrinkles and tucks.  The flag was quilted with monofiliment thread about 1/8" from the flag edge all around.  Narrow borders were quilted using stitch in the ditch and navy cotton thread.  the sky was stippled quilted mimicking the clouds


This is the first time doing free motion quilting with my  Bernina, and I like how the Bernina handles so much better than my Pfaff.  I just need to quilt the borders (I'm thinking stars using navy thread), trim, bind (using the gold that I used for the pole), label, and add sleeve to back.  I'm on the home stretch.

Monday, March 21, 2011

Break time

Sometimes I need a break and a t-shirt or 2 is always good for that.  They are generally quick and easy.
This weekend was hectic and I was just too tired to think about my flag quilt.  I need to work on that when I'm not tired because mistakes happen when I'm tired.

I have a (diminishing) pile of fabric on the floor of my sewing room -- my recent purchases from my trip downtown.  I am deliberately leaving it on the floor to stare at me so I sew it up.  I'm afraid if I put it away it may be forgotten.  Sunday morning I pulled out 2 of the stripes I bought at Michael Levine's, washed and dried them, and cut out Vogue 8710.
These are Katherine Tilton patterns, and like her sister, Marcy, they are full of tricks and tips.  I love that they can take a simple t-shirt and add interesting techniques.  These patterns with their side inserts work great with striped fabrics.  I would love to try the silk screening techniques shown in their photo and described in the pattern instructions.  The pattern was roomier than most.  I sewed up a medium, but probably could have gotten away with a small.  Also, I added 6" to the long sleeve version and love it that way, it will be a nice tunic with skinny jeans.  My knit is very thin, so I'm glad these are roomy.  Nothing worse than a tight thin t-shirt if your stomach and waist isn't wasp thin!
the left side is view A, the short pleated sleeve version.  the sleeves have that 80's feel... I think I wore something like these (albeit much much bigger) as a brides maid)  the right side is the longer sleeve with the side inserts.  I sewed these two up in about 2 hours

Wednesday, March 16, 2011

Flag Progress

The top is pieced..... I think.
My brother in law emailed me some photos to add to the wall hanging.  I printed them onto paper backed fabric.  Making sure all photos were 2" wide.  It makes it much easier to arrange and assemble if everything is consistent. The paper backed easily peels off.

Then I gathered my various borders and the flag and went over my various border and arrangement options
I decided I didn't like the gold/yellow border, ripped it out, and did a narrow blue border followed by a narrow red and white striped pieced border, and then the final wide blue border that included the photos on top, and the embroidered logo and patch on the bottom.   Just need some black batting (white would creep through the blue after a period of time), then sandwich the backing and top and machine quilt. This is the pieced top all sewn together.
 I used the smaller stars and I think they look much better, more proportionally correct.
The backing will be an Air Force print.  Not sure how I will quilt it, but one step at a time.

Tuesday, March 15, 2011

Saturday my friend Denise, her husband Gary, and I went to Disneyland.  We had a great time. I could go several times a year.  I love roller coasters, fireworks, carmel apples, and parades!
On Sunday, after cleaning the carpet on the stairs, the interior or my car, and some yard work (it was too beautiful outside to stay in all day), I worked on two dresses that I had cut earlier this week.
This first one is Vogue 1224.  I made this up a couple of weeks ago, using a border print and did a review of the first version here.   I used a double needle for the hem and it creates a ridge which I like.   This dress will be a late spring, early summer dress.
The second dress is Simplicity 2369. Here's a review of the first version here.  I've attempted to upload a photo of the second version, but it keeps wanting to position it sideway!  argh!

I'll end this with a photo of a photo of me an Denise on the Tower of Terror at Disneyland... it was our first time on this ride, and we didn't know what to expect.   The picture captures of the moment of surprise when the floor drops off.


 Denise and I have been friends since sixth grade.  We can sometimes go months, and I think we've even gone a few years, without connecting, but always pick up where we left off when we see each other.  She and I now have our annual vacation - a week in Yosemite, so we never go a year or more w/o seeing each other.

Thursday, March 10, 2011

Flag progress

I'm still working on the flag wall hanging.  I found an Air Force insignia at Embroidery Library.  They have some really nice designs and I get a lot of them from there.  If you sign up for their emails, they have weekly specials, coupons, and $1 designs.  I highly recommend the site.
I combined the Air Force insignia with Rene's information using my embroidery program.  The above is my computer screen with the design in the hoop, ready to be transferred to my sewing machine which is connected to the computer with a USB cable. I have a Pfaff 2140 (which I do NOT recommend... but that's another rant).
The machine stitches out the design.  I think this design had over 43,000 stitches and took about 2 hours.  It's kinda nerve wracking doing a design this big as so many things could go wrong during the stitch out (at least on my unreliable Pfaff 2140) which would cause it to start over... but luckily, I had no problems and it stitched out beautifully.
This will be used in the bottom border of the wall hanging.  I have some photos I received that I downloaded, cropped, and printed onto fabric which I may put on the top border.  I'm waiting to see the total number of photos I should incorporate before I decide where they will be placed.

Earlier this week, I pieced some 1/2" stripes of white and red fabric, which I will cut into 1.5" strips and use for a smaller border probably between this larger blue border and the flag.
I think I have all the pieces to this quilt ready to assemble.  I'm just waiting for my smaller stars fabric.  It always makes me nervous making something for someone else.  I want it to be perfect.

Monday, March 7, 2011

A Visit to FIDM

Saturday, Kathi and I headed downtown to check out the current Motion Picture Costume Exhibit at the Fashion Institute of Design and Merchandising (FIDM).  The Gallery is open Tuesday - Saturday 10-4 and it's free.  The parking is entered on Ninth Street and is also free on weekends.
Unfortunately, they do not let you take photos inside the gallery so I can't post any here.  I found the costumes this year disappointing.  They seemed more ready-to-wear and boring.  FIDM website here Some of the costumes included: Inception, True Grit, Alice in Wonderland, Coco and Stravinsky, Burlesque, and others that I cannot remember.  I understand it takes 50  people a year to put together. 
After the exhibit we went to the FIDM Scholarship store.  In the front of the store they sell clothing, accessories, bridal dresses, magazines, manequins, and various merchandise donated by local designers. Most of the items are under $10.  You have to really look the merchandise over as most has some sort of damage or flaw.   BUT, in the back of the store is where you'll find the fabric that is $1 a yard!  The merchandise varies from day to day and week to week.  Most of the time there are notions, lace, trims, threads, knits, cottons, silks, upholstry fabrics, and zippers.
Sometimes the fabric is wonderful, other times it's junk.  but it's always worth a visit.  Afterwards we went to lunch at Bodega Louise. One of my favorite restaurants in a restored building on Seventh and Grand - just a 2 block walk north of FIDM.  The food is always good and the service is excellent.  It's a bit noisy in there as it is a huge open space with lots of concrete and marble. 
Whenever I leave I eye the dessert counter and think about buying some to take home, but don't....next time I will. 
The front of the restaurant has a deli counter where you can get delicious looking sandwiches to go.... next time.  

Sunday, March 6, 2011

My stars are too big

 I think I need a smaller print of stars.  So, tomorrow, I'll hit up another quilt shop to see if I can get fabric with a smaller print.  But it's coming together nicely. I like that it's a waving flag and not just a "flat" flag.
I haven't sewn the blue section down yet because I'm hoping to find something more proportionally correct.  The stripes are done and here's how that process went
I used steam a seam light on the wrong side.  I traced each stripe from my master outline using the light box, and cut out each stripe and ironed it down.
I put the top and bottom stripes on first and then balanced the middle ones
The stripes were trimmed and sewn down using the monofiliment thread in the top, regular thread in the bottom and a very narrow buttonhole stitch. 

Thursday, March 3, 2011

Not Quite Waving The Flag

I started working on the flag wall hanging.  I was eager to start on it to see if it was going to work and how it was going to look.  Since I only have a month to work on it, I wanted to make sure I could do it in that time. I actually think I can get this done in a week, barring any unforeseen events.  The instructions suggest using fusible thread.  I couldn't find any locally, so decided I'd use fusible interfacing. Using fusible interfacing will make it stiffer and more bulky, and adds extra layers, but I think that's ok since it is a wall hanging and not a quilt.  I started with the flag pole, sewing the fabric and fusible, right side together, and then cutting a small hole on the interfacing side to turn it.
I then used my loop turner to turn the pole inside out.
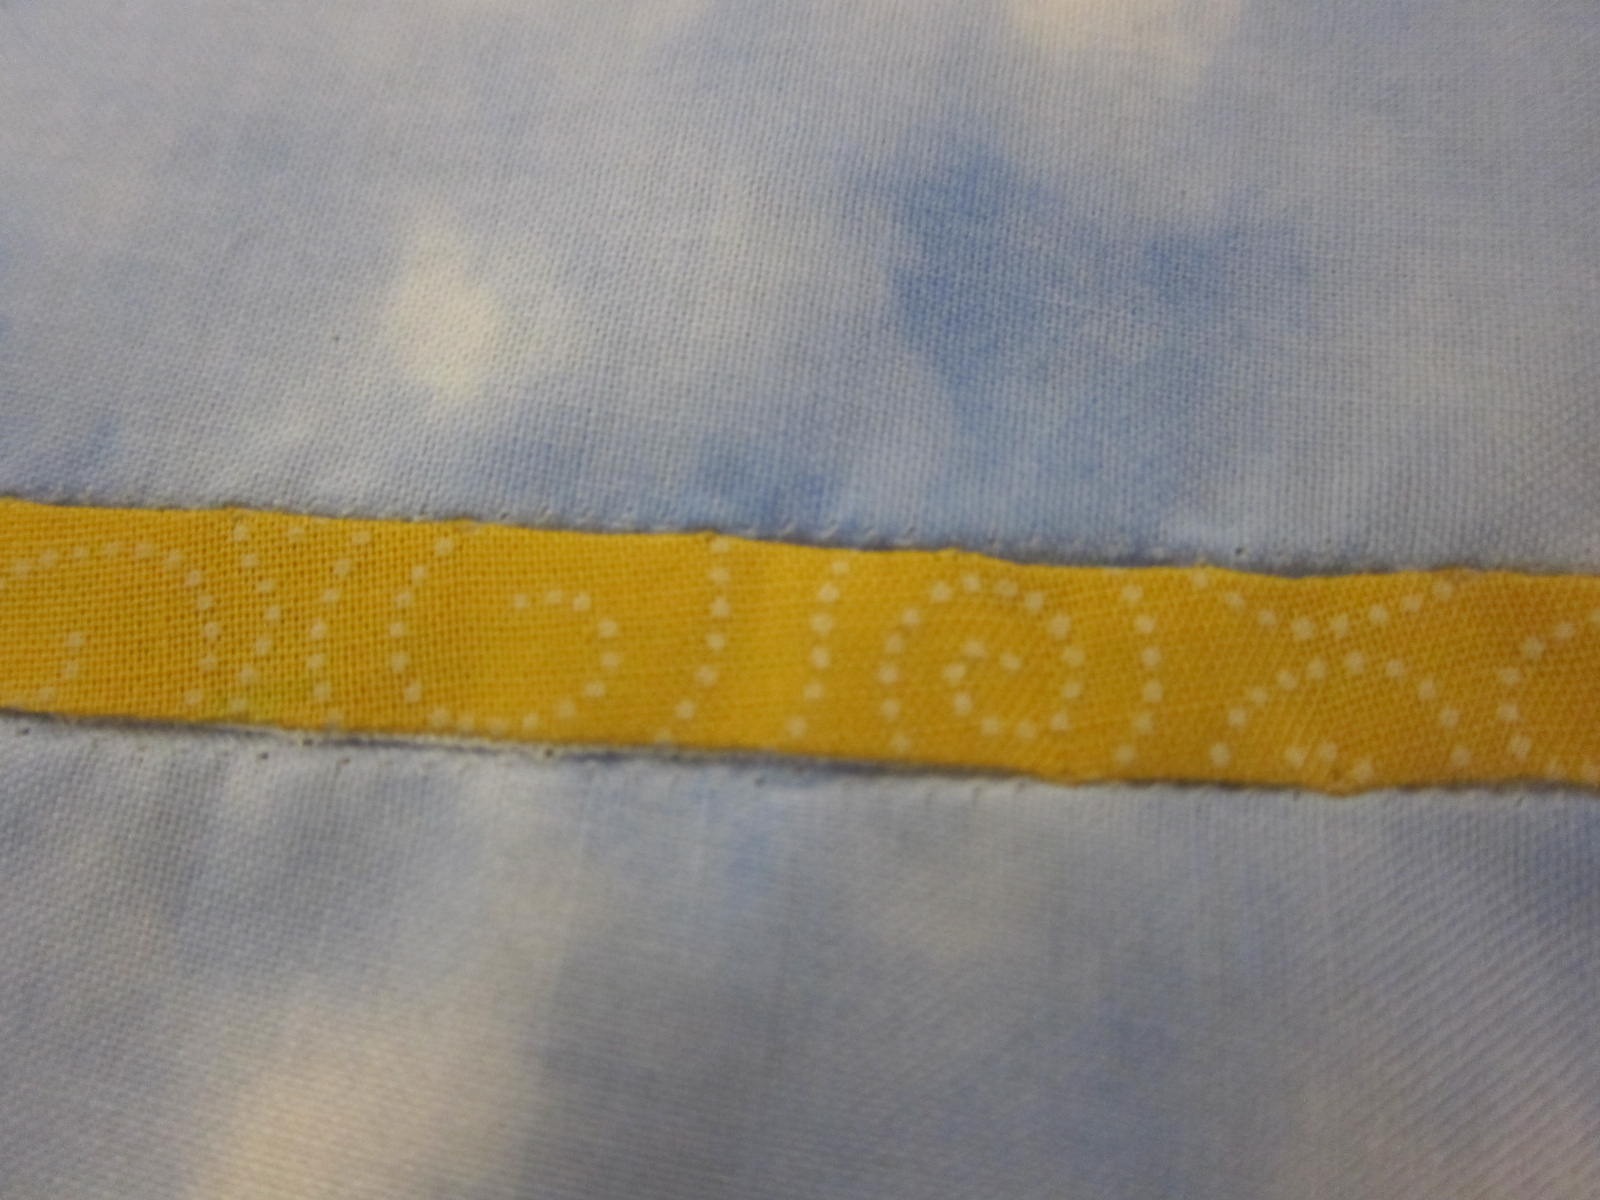
I then iron it nicely and placed it on the background fabric (the sky) using a lightbox.
I fused it onto the background , and then using regular thread in the bobbin, monofiliment thread in the top, and a small buttonhole stitch, I sewed it  on to the background
Next step is the flag itself.  I decided that I'd not do individual strips (red, white, red, white - too much work) and so I put the white down first using the same method I used for the flag pole.
interfacing side with hole before turned right side out
flag nicely iron on Teflon pressing sheet
The above photo shows the flag placed on background using light box.  (I need to adjust my edges so they fit the design better.  This is as far as I got.  I wanted to think about how I'd do the red stripes.  If I use the same method, it would be 5 layers (background, interfacing, white, interfacing, red) and double that on the edges that are turned under.  I think that would be too bulky, so I'm going to use lightweight steam a seam on the red stripes, not turn the edges under, and use the same thread and buttonhole stitched to anchor them down.  I find that the steam a seam light isn't bulky and will keep the edges nice. I'll post photos of the next process.
Don't forget to mirror image your design before tracing the pieces.